看到星厨房的免烤芝士蛋糕 后跃跃欲试。
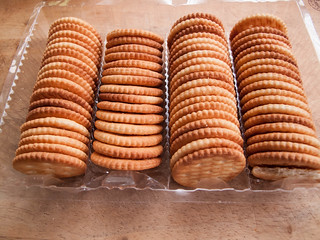
买了圆形的芝士味饼干(找不到四方或长方形的)就动手去做。
这蛋糕真的很好吃,谢谢星厨房和其他博客的分享。
食谱是根据我自己的喜好,稍加更改。
免烘夹心柠檬芝士蛋糕食谱:
材料:
250 g 动物性奶油 whipping cream
300 g 奶油芝士 cream cheese (1小时前,先让它在室温软化)
5 tbsp 炼乳 condense milk
50 g 幼糖 castor sugar
10 g 凝结霜 gelatin + 60 ml 热水 ,搅拌至溶解。
300 g 饼干 biscuits (preferable square or rectangular in shape , cheese flavour )
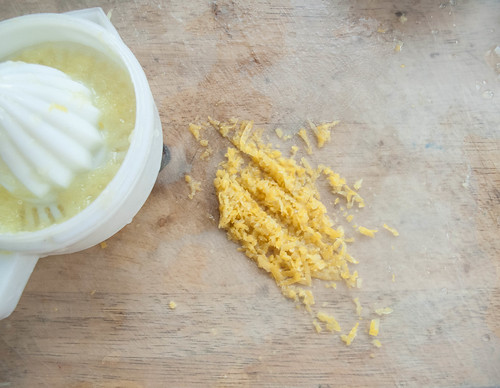
1 整个的柠檬皮屑 lemon zest
50 ml 柠檬汁(如果做凡尼拉vanilla ,就用水或奶水+ 1 tsp vanilla essence 代替)
一个 6 cm直径的勺子 。( A 6 cm diametre scoop for scooping cream cheese mixture)
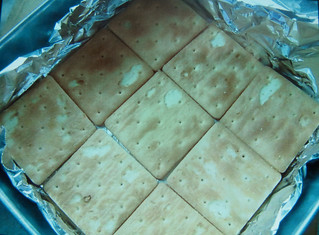
方法:( 8 吋正方形烤盘,铺上锡纸,抹油备用)
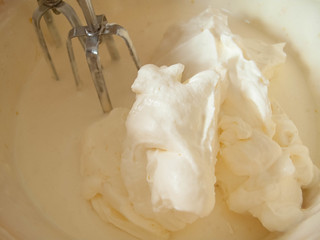
1. 先打起 whipping cream , 放冰箱待用。
2. 用搅拌器把cream cheese ,用3号速度,打至松软+ 炼乳 + 幼糖,继续用3号速度搅拌。
3. + whipped cream + 柠檬皮屑 + 凝结霜,用 1号速度搅拌均匀。
4. 先勺起足够分量的cream cheese 作为上层备用。(我用5 勺)
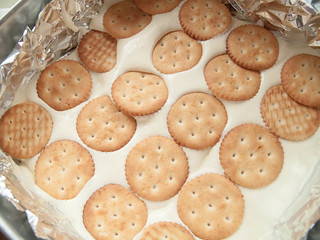
5. 先把饼干在最底层铺排好,然后勺上 cream cheese mixture , 再一层饼干一层cream cheese mixture 的重复至最后那层的cream cheese mixture 盖上,盖锡纸( 免水分的流失),放进冰箱冷藏一天即可食用。
注:
1. 我的底层是用苏打饼,只是因为刚好有苏打饼。但是不建议用苏打饼,因为吃起来并不好吃。
2. 也有人铺饼干前,用饼干一块一块先蘸水。我觉得只要你将蛋糕里的水分增加,饼干就会吸收足够的水分而变得柔软。
3. 建议: 先勺起最后的cream cheese mixture 是因为我做到最后时,最上层会不够cream cheese mixture ,会隐约的看到饼干: ( 。
4. 饼干的形状会影响成品的口感 :所以最好是长方或正方形,铺在cream cheese 上,吃起来才会比较均匀,如果用圆形的,就会有的地方有饼干,有的地方没有)。
5. 如果做 vanilla 口味,糖分可以减至 30 g 。我多放20 g 糖只是要用来平衡柠檬的酸味。


早餐

No comments:
Post a Comment